Seasonal Closet Swap Checklist for Small Apartments
October 13, 2026 - Organization


October 13, 2026 - Organization

October 12, 2026 - Packing

October 09, 2026 - Decluttering

October 08, 2026 - Home Spaces
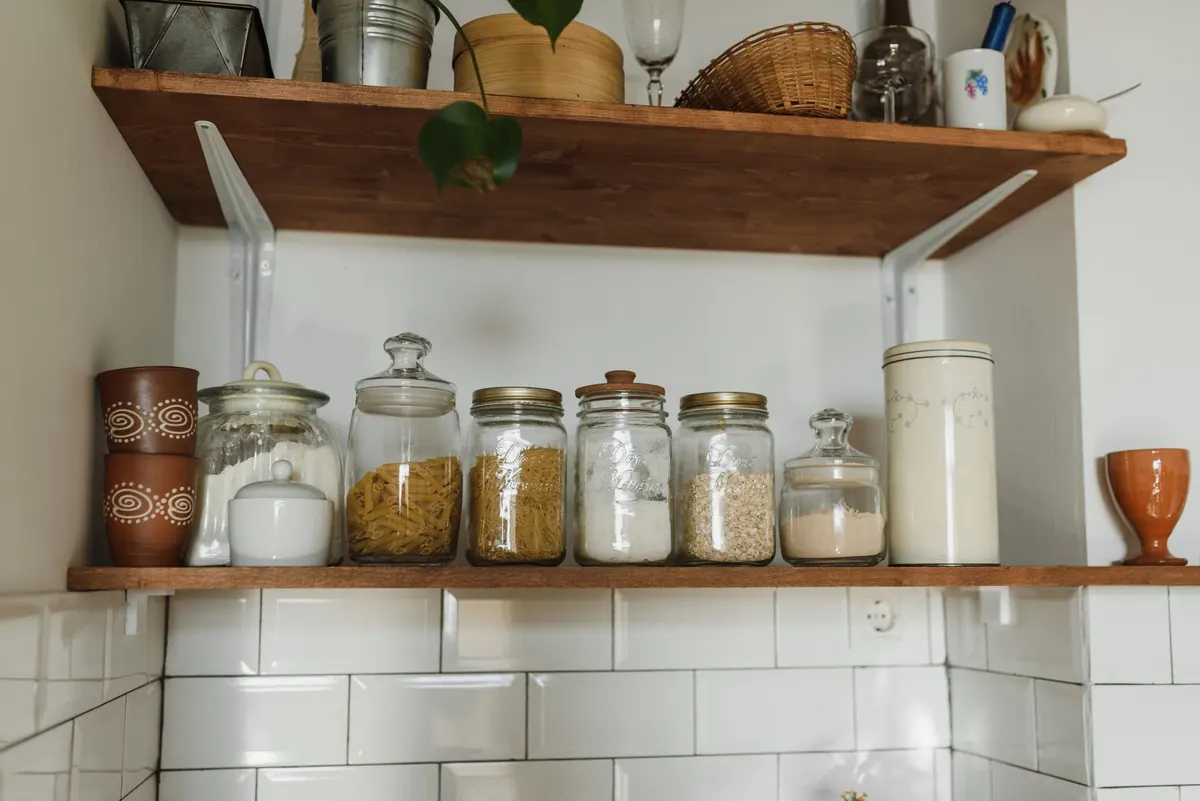
A pantry is not one space. It is four or five small spaces that happen to share a door. Baking supplies, snacks, canned goods, and the ingredients you grab on a Tuesday night all live within the same few feet of shelving, which is exactly why they end up jumbled together.
Dividing a pantry into zones — dedicated areas for a category of food, placed where you actually use it — is the quickest way to turn a frustrating shelf into a working one. It costs almost nothing. No renovation, no custom cabinetry: just a few decisions about what goes where and a handful of inexpensive containers.
Here are the four zones most kitchens need, how to place them on real shelves, and how to keep them from sliding back into chaos.
You cannot assign a home to something you cannot see. Pull everything out — onto the counter, the table, or the floor over a towel. Then sort into rough piles: baking, snacks, cans and jars, dinner staples, and a "not food" pile for the batteries, birthday candles, and mystery chargers that always migrate to the pantry shelf.
While everything is out, do three things.
Emptying is also your chance to measure. Note shelf depth and the height between shelves. Most pantry-organizing frustration comes from buying bins that turn out to be a half-inch too tall.
Ignore alphabetical order and ignore package size. Group things by how you cook and eat, because that is how you will reach for them.
Flour, sugars, leavening, cocoa, chocolate chips, extracts, sprinkles — plus the measuring cups and spoons that go with them, so you are not walking to the drawer mid-recipe. If you bake most weekends, this zone deserves a whole shelf. If you bake twice a year, one shoebox-sized bin on a high shelf is plenty. Decant flour and sugar into containers that fit your shelf height and keep a scoop inside each one. Tape the instructions from the original bag to the back of the jar; you will want the substitution notes eventually.
Crackers, granola bars, nuts, dried fruit, popcorn, chips. Make this the most reachable zone in the pantry and size it to the shortest person in the house. Eye level for an adult is chest level for a seven-year-old. One deep bin beats a row of loose boxes: it contains the mess and turns "snack" into a place rather than a search.
Beans, tomatoes, broth, coconut milk, tuna, pickles, applesauce. These are the heaviest items you own, so they go on the lowest shelves where lifting is easy. Use a riser or a lazy Susan so labels face out and nothing hides behind the front row. Group by type — all the beans together, all the tomatoes together — so you can see at a glance that you already own four cans of chickpeas.
This is the working heart of the pantry: pasta, rice, grains, dried beans, oils, vinegars, spices, stock cubes, onions and garlic if you keep them here. Give it the best real estate you have — between waist and eye level, nearest the stove if the pantry is close to the kitchen. Keep daily items front and center and push the once-a-month items toward the edges.
Four placement rules apply to every zone:
Pantries come in many shapes: a closet, a deep cabinet beside the fridge, a set of open shelves in the hallway. The layout matters less than the sequence. Stand in front of it and ask where you are when you need each category.
If the pantry sits beside the stove, meal prep and spices belong there, and baking can move to a cabinet a few steps away. If the pantry is the only storage you have, stack the zones vertically: baking on the top shelf, snacks at middle height, meal prep at eye level, cans and jars below. Sketch it on paper before you put a single item back. Five minutes with a pencil saves an hour of rearranging.
Do not buy containers first. Buy them after you know what you are storing and how much of it, and measure again in the store aisle.
Two rules keep this cheap and useful. First, decant only what you use often. Anything with instructions you rely on — a specific rice, a boxed mix, a specialty flour — can stay in its original packaging inside a bin, or move into a jar with the cut-out label taped to the side. Second, choose square or rectangular containers. Round jars look tidy and waste a surprising amount of space around them.
For labeling, masking tape and a marker are enough. Write the name and the date you opened it. Tape peels off cleanly when you change your mind, and you will change your mind.
Zones fail slowly. A bag of rice lands in the snack bin. A stray can gets pushed onto the baking shelf. Within a month the system is gone and you are buying a third jar of cumin.
The fix is a short weekly reset, not a big annual overhaul. Put the strays back where they belong, wipe the shelf, and leave about a fifth of each zone empty so there is room to slide things in and out. If a bin will not close, something has to leave — that is the whole rule.
Pick a day and a time you will actually remember — Sunday evening before you write the shopping list, or the ten minutes while dinner simmers. Walk the pantry and do four things: return strays to their zones, note what is running low on a list taped inside the door, move anything close to its date to the front, and close every bin.
That is it. Ten minutes a week keeps the zones working, and once a year — before the holidays, say — empty the pantry again and start over. Your shelves will not stay perfect. They will stay usable, which is the point.
Photo: Arina Krasnikova / Pexels
A step-by-step seasonal closet swap for small apartments: timing the switch, sorting and packing off-season clothes,...
An eight-week moving-day packing timeline that breaks sorting, boxing, labeling, and last-minute essentials into...
October 13, 2026 - Organization
October 12, 2026 - Packing
October 09, 2026 - Decluttering
Copyright © 2026 The Stow Guide. All Right Reserved.